Behind the Scenes: How We Mastered (a.k.a. Survived) Our First Tie-Dye Photoshoot
Share
When we launched our tie-dye brand, we knew one thing for sure: we wanted to show off our colourful creations in the best way possible. What we didn't know was just how much figuring out the "best way" would involve hours of research, trial-and-error, and a lot of laughing at ourselves.
We spent countless hours reading articles, watching examples, and deep-diving into forums trying to answer one huge question: How do we take awesome photos of our t-shirts without breaking the bank? After all, we’re just starting up, and while we’d love a full-blown studio setup one day, right now we’re sticking to a more... "creative" approach.
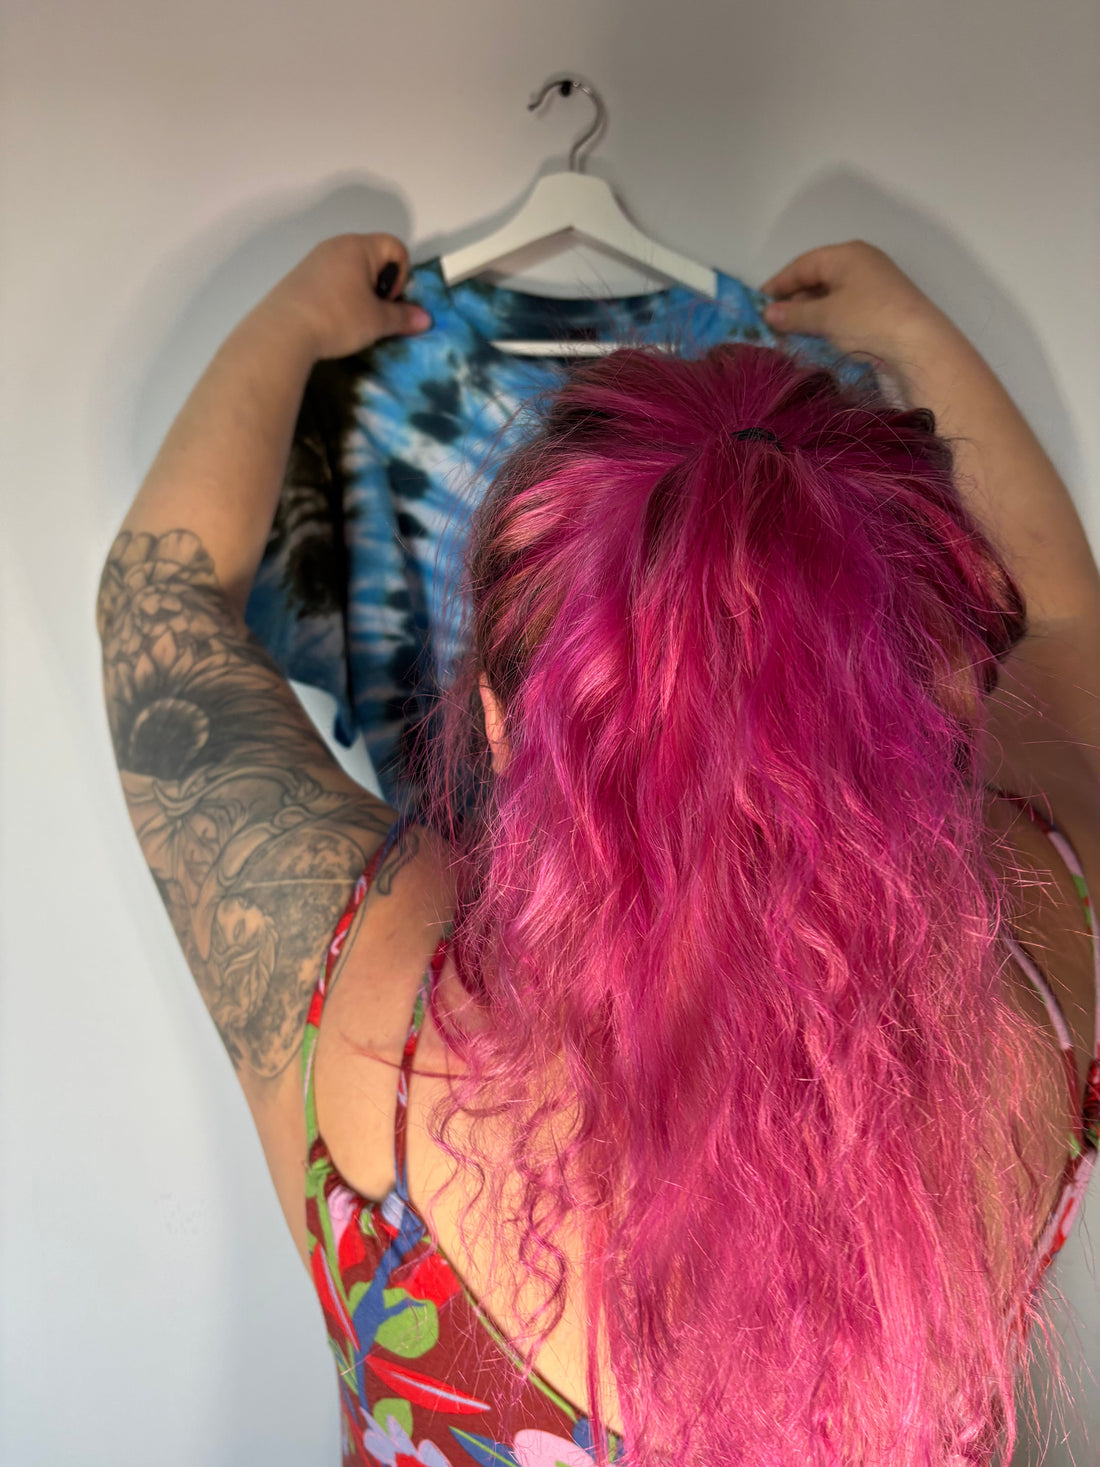
Armed with a selfie stick (with a remote, fancy we know), a little ring light, and pure stubborn energy, we turned our living room into a makeshift studio. Very budget-friendly — and honestly? Pretty decent results! It turns out that with the right angles, a bit of patience, and a lot of adjusting, you can make basic equipment work surprisingly well.
Of course, because nothing ever goes exactly as planned, we realized after our first big photo session that natural daylight was giving us way better results. So, back to square one: we re-shot the entire batch. (Yes, all of it.)
Even though we’re still working with what we have, we’re super proud of what we’ve been able to achieve. We're being careful not to over-invest too soon — one of our goals is to grow wisely — but we’re thrilled with how everything is shaping up so far.
We’re dreaming big: more photos, more videos, and definitely more shots of our designs on models to really bring our pieces to life. But for now, it’s one step, one colourful t-shirt, and one click of the selfie stick remote at a time!
Thanks for cheering us on — this is just the beginning, and we can’t wait to keep sharing the journey (and all the glorious behind-the-scenes chaos) with you.